Showing posts with label fabric paint. Show all posts

Saturday, August 11, 2012

Mermaids


I finally got my artwork off to the gallery in South Carolina. I finished three pieces, two dolls and a wall hanging. I've already introduced my two mermaid dolls Malika and Adilah. They are on their way to the City Gallery at Waterfront Park in Charleston, South Carolina via their magic coach courtesy of UPS.

The third piece that the gallery accepted is a wall hanging I did called "The Rescue".


I used textile pants by Jacquard to paint the background.

I wanted the sky to be at sunrise when the sun is just emerging from the horizon and the colors are shades of pink and coral and the night sky begins to disappear and the day time sky begins to show itself.


The rocks, the mermaid and her rescue were cut from the pattern that I drew and quilted and appliqued to the background.


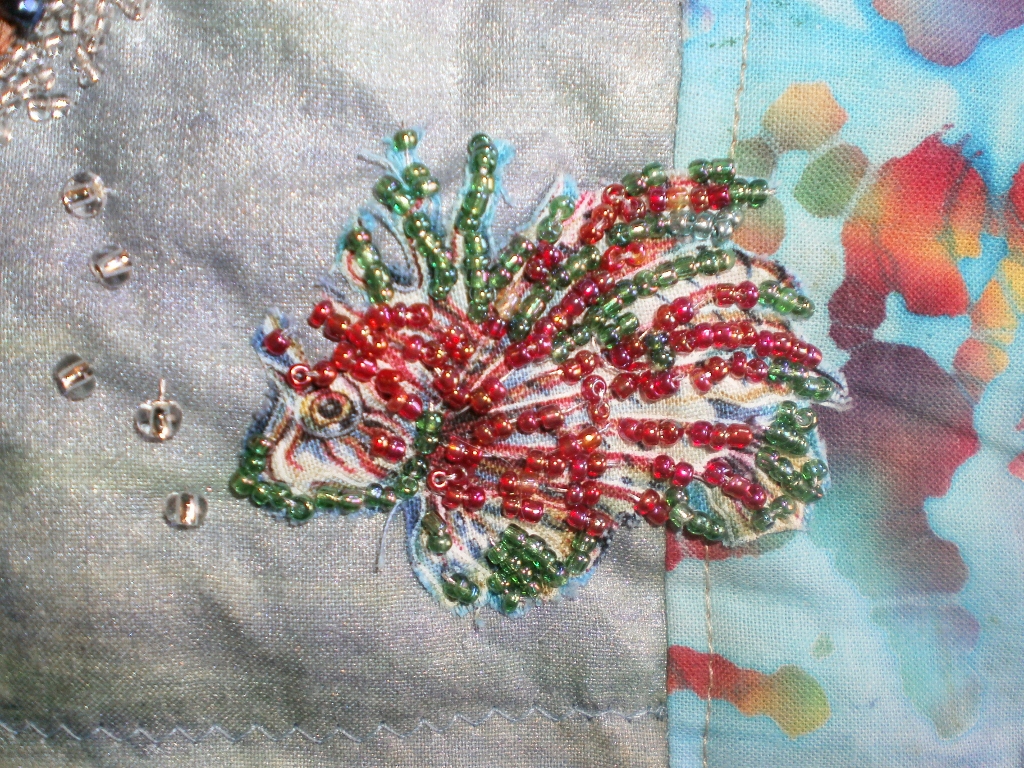
I love to use glass beads to add shine and texture to my quilts. I cut out some fish from a piece of fabric that I found and appliqued them with the glass beads.


I used more glass beads on the mermaid's tail and beads and shells around the rocks.

Monday, January 30, 2012

Twelve Yards of Muslin: Project 1

Here is my first finished project out of my "twelve yards of muslin."
I decided to make a fabric art piece. I used the plain white muslin and fabric paints and pens to create the background.


My hairdryer is my favorite tool when I use paint. I always want to get my projects done quickly and this saves drying time between the painted layers.


The white muslin is a perfect blank canvas so that it can become anything.


I made a pattern for the design I wanted to applique into the piece.


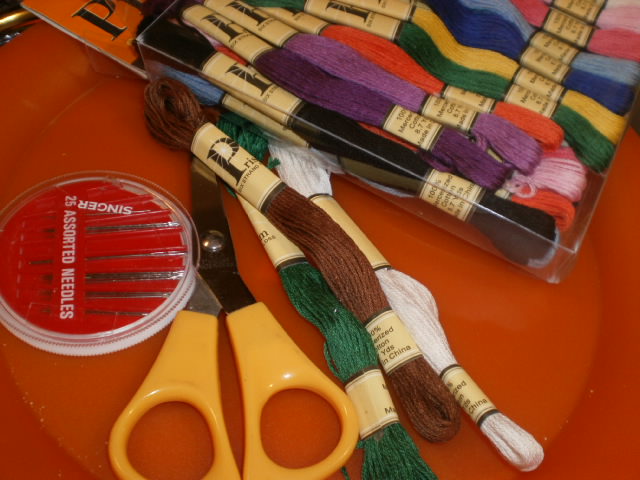
Next I pulled out embroidery thread...


...and lots of colored glass beads...


I used beads to add some detail...


...and make the piece come to life.


I used embroidery thread to hand quilt the background...


...and the finished piece is called


"Talkin' To The Moon".


This is not the first time I've created this piece. I designed it for the first time about 18 years ago. It was so popular that I sold it immediately at a craft show I was selling at.


I love my first finished project out of the twelve yards and I've already started the next one. Can't wait to share it here with you.

Saturday, January 21, 2012

Twelve Yards of Muslin


My creative spirit kind of went into hibernation after the holidays. I couldn't seem to get inspired to begin anything new. I decided to go shopping last week at all of my favorite fabric, craft and art stores to see if I could jump start my creative spirit with some new materials.

I bought some fabric pens and some watercolors from Utrect Art Store and then visited a few fabric stores and bought some half yard pieces of print fabric that I thought would inspire me, I sat in the car and looked at my purchases and thought 'now what?' I decided to go to Hancock Fabrics on my way home.

I walked around the store with that 'I don't know what I'm looking for but I'll know it when I see it' attitude. They had a great sale going on but there wasn't anything I really wanted. Then I saw a sign that said $1.00 off all cotton muslin fabrics.


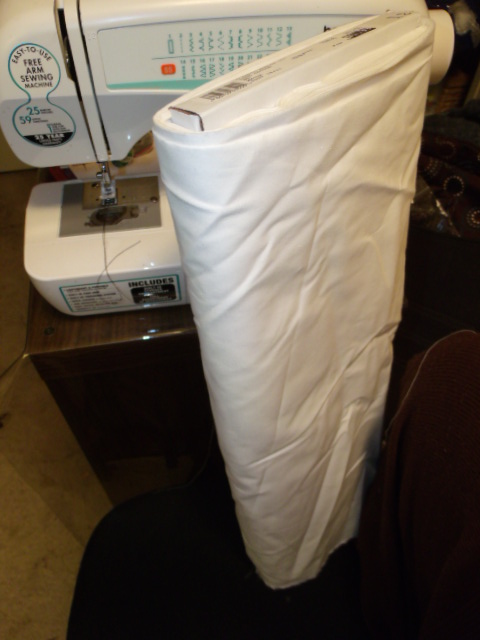
I found a bolt of bleached white cotton muslin for $1.99 a yard. The bolt hadn't been cut yet. The fabric was a close weave, sturdy and had a good weight and there was 12 yards on the bolt. Suddenly, I could see all of the possibilities that this plain white bolt of fabric could become. Instead of white, I could see rainbows of color and prints.


Who knew that this was the inspiration I was looking for and what a great bargain. With the $1.00 off per yard, I got all twelve yards of 45" fabric for $12.00. I couldn't wait to get it home.


I pulled out all of my paints and supplies and instead of thinking 'now what?' I was thinking 'what first?'


I am beginning a new creative journey with my 12 yards of muslin. I can't wait to see what and how many projects my plain white cotton fabric will inspire.


I will share my creative journey here with you. I'll keep you posted on each new project.


Friday, July 29, 2011

Stepping Out of My Comfort Zone

Tomorrow I will be stepping out of my comfort zone and for the first time I will be participating in an open studio. A very nice fellow artist invited me last month but I wasn't able to go. She extended the invitation again to me this month and I said yes.

I am now feeling a little nervous, my art is pretty much all over the place. I paint, I draw, I sew, I create quilts and dolls but I do it for myself and what pleases me. My training has been a little fashion design, interior design, a few art classes here and there, but I'm mostly self taught and I always work alone. I kind of go into my own world. I'm hoping I will fit in with a community of other artists.

The materials I've chosen to work with are my textiles and fabric paints on plain white cotton broadcloth. Next to watercolor painting it's my favorite portable medium to work with. We will be working on a collaborative project to be put together and shown in October. I am equally excited and anxious at the same time.

Saturday, June 4, 2011

Finished Project

Just wanted to share my latest completed project in textile art. This was an experiment in batiking but instead of using traditional wax or gutta resist I used Elmer's Washable Gel School Glue. It was a little tricky at first. I think the first bottle of gel glue that I used was old and it made it hard to squeeze it out of the bottle.


On this pillow I used a sun stencil and applied the glue by dabbing it in the stencil opening on the white fabric. I dried it with a hair dryer and then measured off the center frame with a ruler and air soluble ink. I free-handed the border with red fabric paint and dried it with the hair dryer. I set the dye by ironing it with a dry iron and then painted over the red border with gel glue. I again dried the glue with the hair dryer and then painted the whole pillow cover with a sponge brush and black fabric paint. I dried it again with the hair dryer until just dry enough to pick up. I ironed it again with a hot dry iron and then put it into the dryer for 30 minutes to 'cure'.


I hand washed the piece in mild soap and warm water to remove the excess dye and the glue. It took a little soaking and scrubbing to get all of the glue out and rinsed it well. The fabric was firmer but still soft. I Ironed the wet fabric to dry it. I was anxious to see the finished piece.


This pillow pattern I kept a little more simple. All of the white areas were just covered with gel glue and left to dry. I painted all of the orange areas first. I randomly painted orange blotches in the border. when the orange dye was dry, I covered the orange blotches in the border with gel glue and let it dry. The last step was to paint the remaining areas with red dye and let it dry also. I heat set the dye with the iron again and then repeated the finishing steps above.


Tuesday, May 31, 2011

TGIT Thank God It's Tuesday!


Well, another week has gone by and another weekend for me begins. Work is still slow but my employer's business is still hanging in there. We sponsored an outdoor arts and crafts fair this past Saturday for the Salvation Army to raise money for the tornado victims in the South. We had a lot of great crafters but the foot traffic was slow. We were competing with unseasonably cold temperatures for us in May. We had some rain and we are usually in the 80's this time of year but we never got above 68. We were also competing with the Jazz Festival downtown and the Sacramento County Fair.

I committed to finishing three projects last week and wasn't able to complete them. Going out of town to see my granddaughter's preschool graduation and having a horrible toothache slowed me down considerably. I did finish my textile art piece as shown in my last post. I got my male doll almost completely done. He now has hair, shoes, jeans, a T-shirt and one arm. I attempted hands with fingers this time, so, the second arm has slowed me down a little but he's almost done and ready to be photographed.


My 'three' projects for this week are still the two dolls from last week, smiling Samantha and my little old lady Mildred. I am determined to finished my old doll projects before I start any new ones. My textile art piece for this week is also shown here. I used a batiking type technique to paint this kind of eerie face. It was kind of fun because I used Elmer's washable school glue as a resist instead of wax or other traditional resists. I got an interesting effect. I will turn it into a finished project this week.

The only thing that will slow me down this week is that I have to change my booth at the retail space where my artwork is located. I'm not looking forward to taking everything apart and putting it back together again. I've been using my outdoor tent as the framework for my booth. I'm hoping to come up with a better idea so that I don't have to use the tent. I haven't been able to do outdoor shows because I don't have a second tent so this is a good opportunity to make the change.


Monday, May 30, 2011

A Finished Project


One of the challenges I gave myself last week was to turn the sample fabric I dyed with textile paint into a finished piece. I had dyed a 10" x 30" strip of fabric in an ombre effect in mineral blue and tobacco brown. The colors bled into each other so that the colors softened each other. I stenciled some inspirational words on both ends and then added hand knotted fringe in a color that matched the blue.


Anyway, my experimental, sample fabric is now a pretty cotton scarf. I can't wait to try another textile art project this week.

Friday, May 20, 2011

El Cielo de Colores

I am so proud of myself. I stayed on track this week and have all of the projects I committed to almost completed. This is the quilted fabric art piece that I started last week. I named it El Cielo de Colores, the sky of colors or the colorful sky.

I really enjoyed working on this. It's been a while since I've done a quilted art piece. I used fabric paint, fabric pastels and fabric paint pens. I also used some very tribal cotton prints to create the applique image.

I bordered it first in white cotton to make it look matted and then created a six inch border in a cotton batik to simulate a picture frame. I am very happy and honored to be able to share my projects here with you.

My next post will be my fabric paint dyed doll. When I painted her face she told me who she was and what she should look like. She's almost done.

Friday, May 13, 2011

A New Creative Expression

Last week I dyed some fabric for one of my dolls with diluted fabric paint. This week someone gave me the book Textile Art by Susan Stein. I already have so much on my plate to finish with my dolls, the temptation of a new project was the last thing I needed. I actually put this book on the top of my book case determined not to look at it until next month. But not looking at a new book is kind of like a kid not opening presents on Christmas day. I read one section on painting on fabric with textile paints. I gathered all of my existing supplies and decided to try a quick project.


I used what I had and tried my hand at painting a landscape on a piece of 100% cotton. I'll finish it with a border and add batting and a little quilting. It's not perfect but it was fun to try something different. I will definitely try this again when I have more time.